
Drywall is an important component of residential construction and home renovations. It provides a solid surface for wall and ceiling surfaces, adding durability, structural integrity and aesthetic appeal to any room. It’s also an inexpensive material compared to other alternatives. However, installation costs vary based on the type of drywall selected and desired level of finish. Other factors such as old drywall removal, insulation requirements, and painting also affect total cost. The following is a guide to help estimate the cost of a new or replacement drywall project.
Drywall cost is typically based on square footage of wall and ceiling space. To calculate the cost of a room, Local Residential Drywall Experts will measure the length and width of the space, add up these measurements and then multiply the number of walls or square feet by the per-square-foot price of standard gypsum drywall. In addition to the basic drywall price, additional charges are made for materials, labor and waste.
The price of drywall increases if you choose moisture-resistant or fire-resistant options. The extra expense is largely due to the fact that these types of panels are thicker than standard ones. Additionally, they’re more difficult to work with. If you’re on a budget, stick with standard quarter-inch panels. Three-eighths-inch and half-inch panels are also available, as are soundproof varieties.
In addition to the drywall, other expenses can include the price of installing insulation and any required repairs to existing framing or structures. Fixr notes that these may include rewiring, removing and replacing electrical outlets and switches, fixing leaks, and addressing mold or pests. This could add anywhere from $0.50 to $1 per square foot to the overall drywall cost.
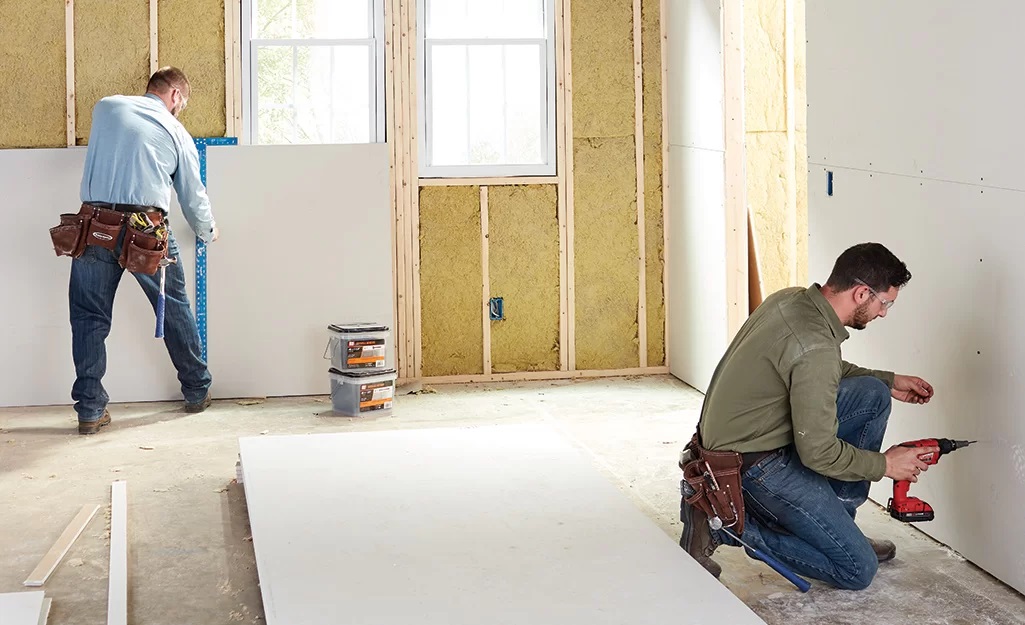
If you’re planning to do the work yourself, the initial cost of drywall will be much lower than hiring a professional. However, you’ll have to factor in the cost of tools and other essentials such as a tape gun, drywall screws and a saw. It’s important to plan the layout of each room before starting work, so you can hang the sheets efficiently. You should also mark studs and other framing members before installing the drywall. A light pencil mark will make it easier to locate the studs when positioning a sheet of drywall.
A well-planned layout reduces the amount of waste, cuts and seams. It also helps you find any potential problem areas and address them before moving on to completing the final drywall job. When hanging drywall, consider using an oscillating multitool rather than a regular saw to cut into it. This tool is especially useful around windows and doors, where the drywall will have to be cut around a frame or other fixture.
It’s also important to mark the location of electrical outlets, receptacles and other fixtures in your walls before you start hanging the drywall. Doing this will save you time and effort later on. It’s also smart to mark the general area of a window or doorway, so you can ensure that the drywall will be fastened to the appropriate stud.
Grey County Drywall
greycountydrywall.ca
info@greycountydrywall.ca
(647) 625-2013